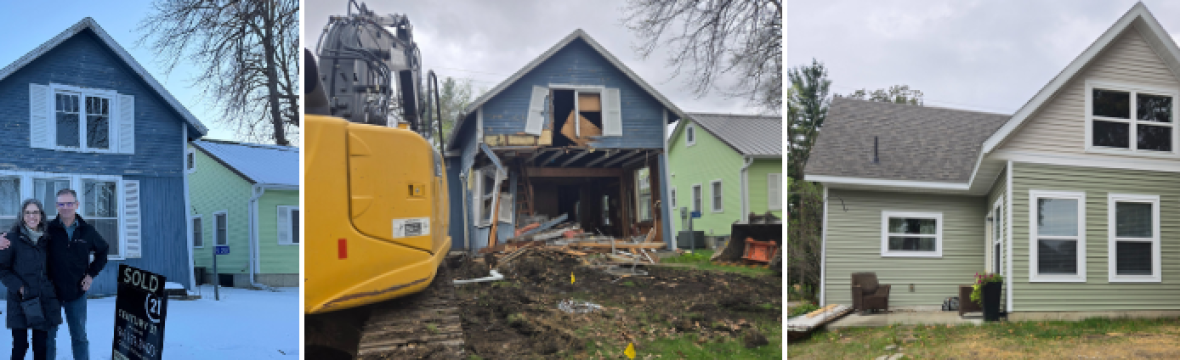

The messy truth about demo day
The wood floors in this cabin were strong and appeared to be in great shape. We knew we wanted to reuse them, which meant we had to get them out before the house was demolished.
These boards had endured decades of wear, tear, dust, and dirt. They were nailed down over 100 years ago and had stood the test of time—which meant they didn’t want to come out easily. These weren’t modern staples; these were serious, old-school nails.

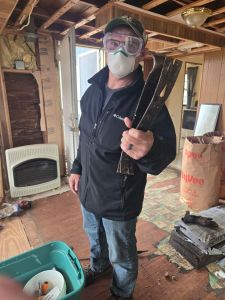
The Gear List (What saved us): To prepare for the battle, we “Geered” up: (I’ve linked the specific tools we used below to save you the search.)
- Respiratory Protection: We masked up to protect our lungs from decades of dust. 😷 Link to Mask
- Hand Protection: Heavy-duty work gloves were non-negotiable (100-year-old splinters are real!). 🧤 Link to Gloves
- The Muscle: We brought two crowbars to gently urge the floors to pop up. ⛏️ Link to Crowbar
- Leverage: Sturdy hammers helped remove the stubborn nails. 🔨 Link to Hammer
- The Cutter: A cordless circular saw to handle the tricky edges. 🪚 Link to Saw
How We Did It (Step-by-Step): The process was slow, but we developed a rhythm to save as much tongue-and-groove as possible:
- Break the Seal: Mike stuck a pry bar between the cracks of two boards. Since the wood was tongue-and-groove, he had to carefully break that connection first.
- The “Pop”: Once the pry bar was wedged in deep enough, he raised the board about a ½ inch.
- The Hammer Trick: We hammered the wood back down. This left the nail head popping up high enough to grab with the pry bar.
- Rinse and Repeat: We moved down the length of the board, repeating this until most nails were out.
- Teamwork: Finally, we’d put a second pry bar in. Both Mike and I would push down on our bars simultaneously until the board popped loose.


Any remaining nails were removed by pulling them from the top or pounding them out from the bottom.
Navigating the Obstacles: We couldn’t save everything. There was a half-bath upstairs, so Mike used the circular saw to cut the boards flush with the bathroom walls, leaving the wood underneath. We did the same around the stair railing system.
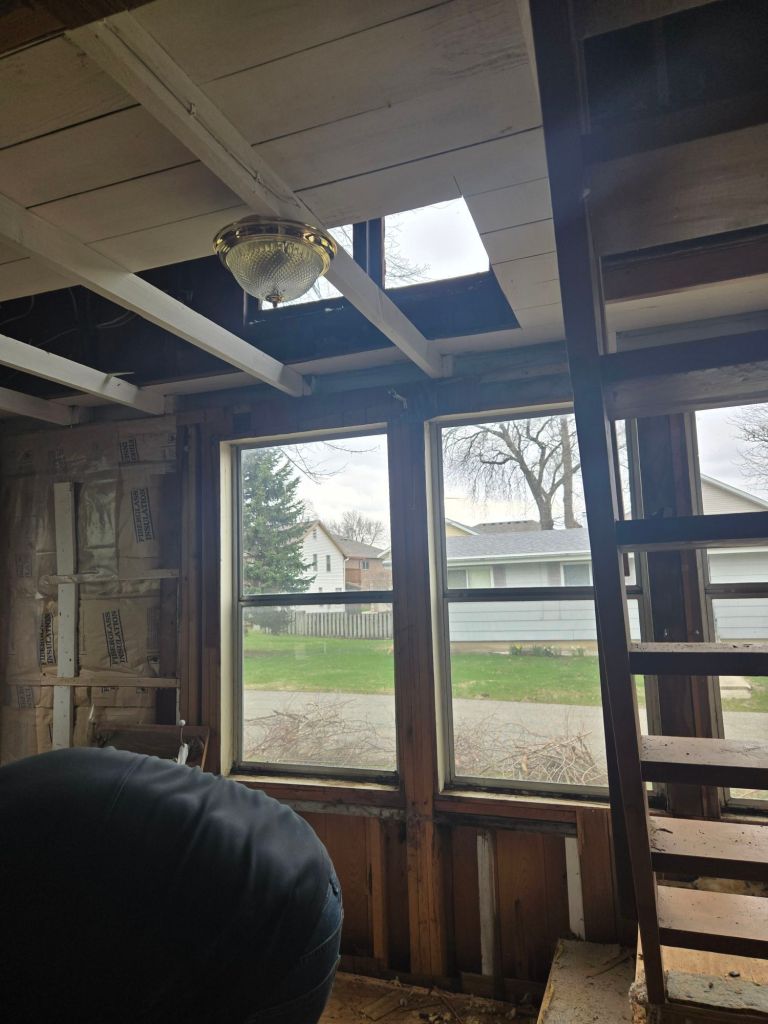
The Logistics of a Demo Zone: It was dirty work. We worked from the back of the house toward the stairs so we always had intact flooring to stand on. The more boards we removed, the less safe walking space we had!
Eventually, we stopped carrying them down the stairs and started passing them through an open gap in the wall. We even took out a front window so we could toss them directly onto the pile in the front yard.
The Treasure Hunt: After de-nailing every single board, we loaded them into the truck and stored them in a friend’s unit. Months later, after the cabin was rebuilt, we pulled them back out.
We later learned these were likely Old Growth Douglas Fir, widely used in the upper Midwest when this church camp was built. (If you’ve seen the movie Train Dreams, you know exactly the kind of majestic timber I’m talking about).
See the Result: Want to see how these dirty, nail-filled boards turned into a stunning feature wall? Check out the full ‘Soul of the House’ reveal here.

